ALL COMM TECH CLASSES
|
2.8 | Animation
OutlineIn this assignment we will learn the basics of animation and using Adobe Animate CC and/or Adobe Character Animator to create our animations.
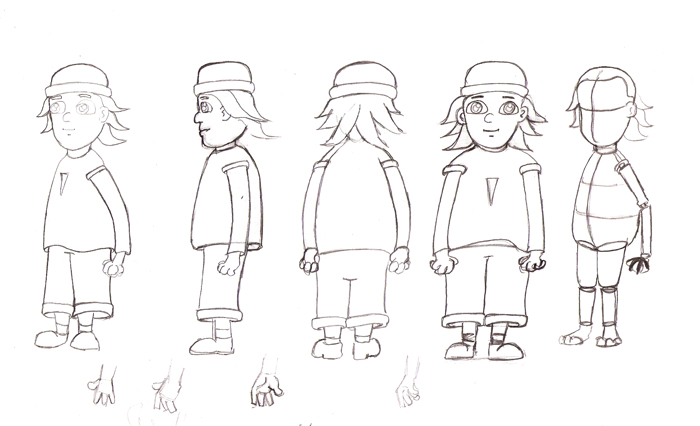
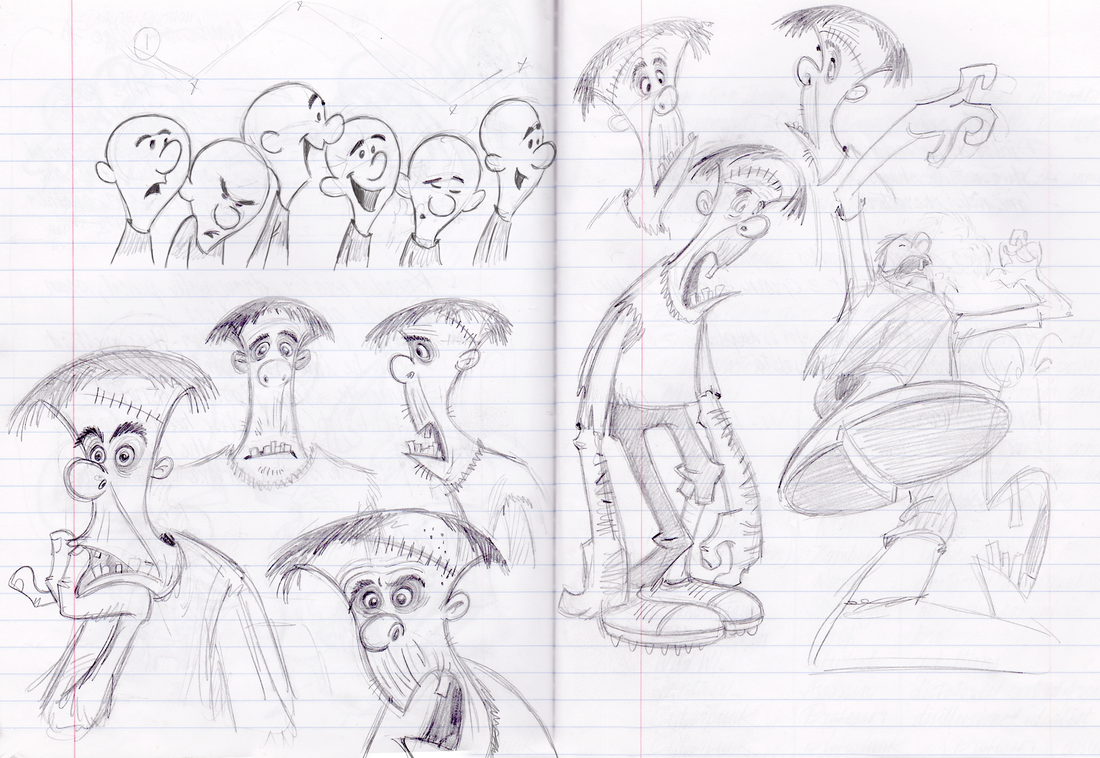
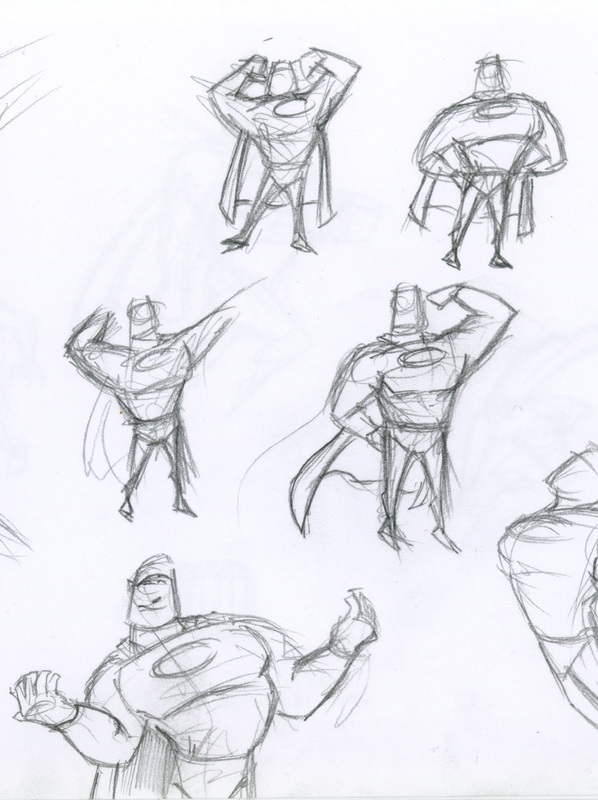
For this project you will create a short animation that will consist of two characters or objects that interact with each other. Both of theses items should have some type of movement in each scene/background. You can introduce your first character on a background and then have another new character in the next scene. In this new scene you should also include a foreground to create a two dimensional environment (see expellers for the items that appear infant of characters to create the foreground effect). Your characters can be a person or an object. The length of the scene will be a minimum of 30 seconds. In the end the whole animation will be 30 seconds to 60 seconds maximum in length. You can go longer, however it does take time to do anytime over 1 minute. All characters must be appropriate and should not be from any cartoon that advice a viewer descretion advised warning before the show. If class time permits, you can go longer than the maximum. You can also attempt to make body part animate as the characters move. I can assist you this more difficult challenges. Due to time constraints at this time of the year, you can use pre-made illustrations for the characters and backgrounds. Make sure you use high quality images that you source or you will have difficulty removing the backgrounds. You will need to save these files as .png for the back ground to be transparent. Animated GIF images for backgrounds are acceptable, however they will not count for other characters or movements. You can search Google for characters to use in your animation. You will use the various Adobe applications to create your animated character. If you prefer to create a character, search for 2D Character Animation Poses for the best results. Try and get a character that is in a 3/4 pose to show that they can move across your stage. The image you find will be the template you create your character from. It is best to use a pencil style sketch opposed to a pre-created image of a character. See sample below: 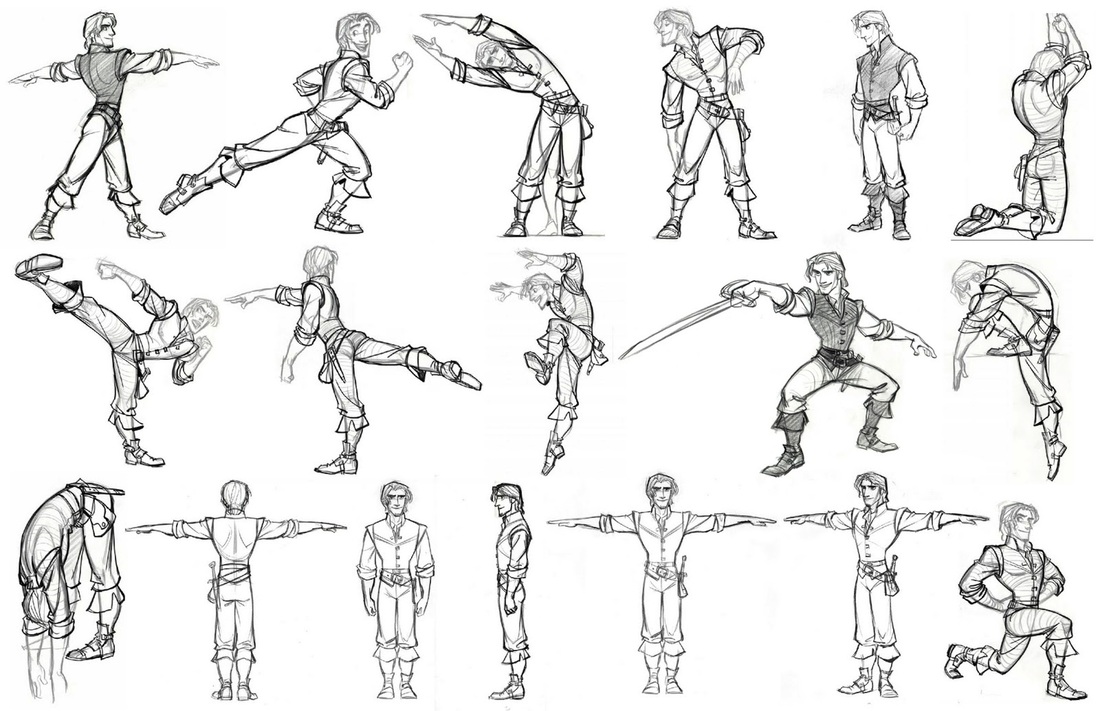
|
|
|
|
|
|
|
(Your animation should not depict any form of violence, bullying, killing, guns, etc.; please use your best judgement or ask me before proceeding. Also, characters must be appropriate and should not be from any cartoon that advice a viewer descretion advised warning before the show. Animations that show any signs of this will receive a mark of zero.
Sound, or any other effects are optional, as well as other characters & backgrounds. If you do decide to add any extras, it shows that you have put forth a greater effort when it comes to your evaluation.
This is a tutorial on how to use the new Adobe Animate CC software that you could create your animation in.
For more inspiration and ideas check out: Flooby Nooby
or you can also access Lynda.com through the Mississauga Library System
I have also included a Youtube video below to show the steps of tracing your character using the Line Tool.
Remember when creating your animation in Adobe Animate CC you will need to use FILE> NEW> ACTION SCRIPT 3.0.
When you have finished your animation. Export your file under FILE> EXPORT and use the SWF file output. You should also submit your original working Flash project file(.FLA). You will be able to post your .SWF file to your ePortfolio site.
When submitting your files, do not put them into a folder, drop each file onto the dropbox separately, rename them as:

Lastname_Firstname_2.8.Animation.fla
|

Lastname_Firstname_2.8.Animation.swf
|
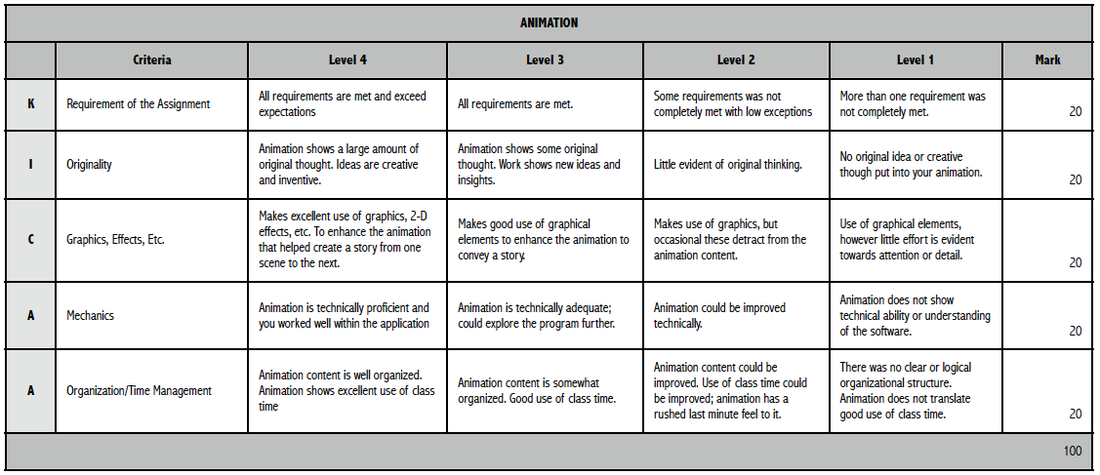
Evaluation Rubric
Tips, Tricks, and Tutorials
Tracing your character with the Lind Tool
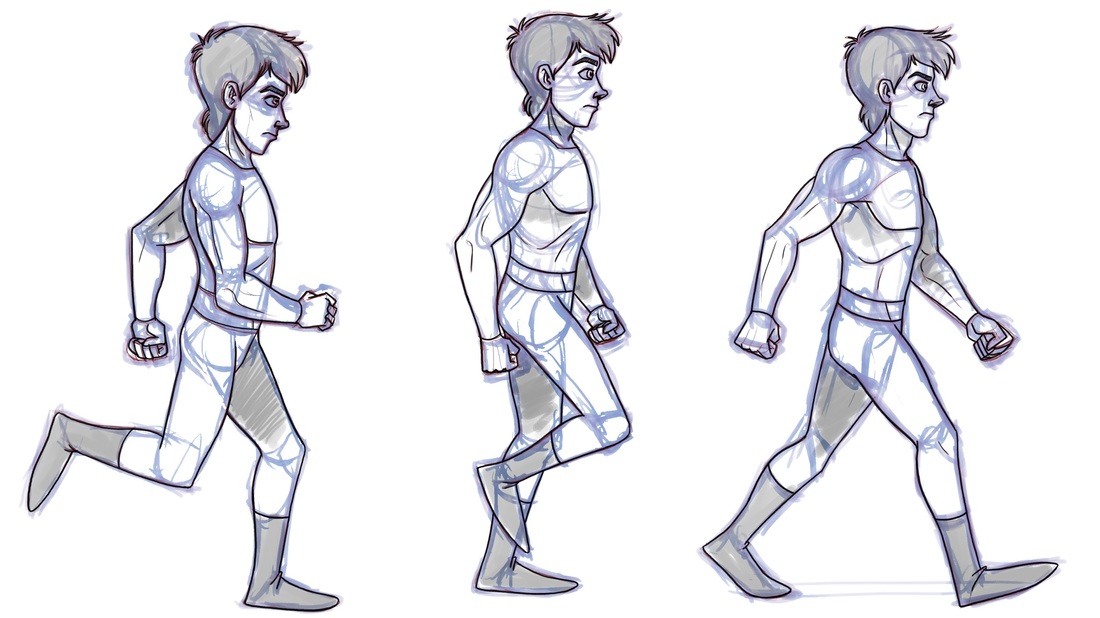
Walk Cycle Working Template

Notice that the grayed areas indicate where your character's left arms and legs should be during the walk cycle - the character's right arm and leg will be the opposite.
Frames per Second examples
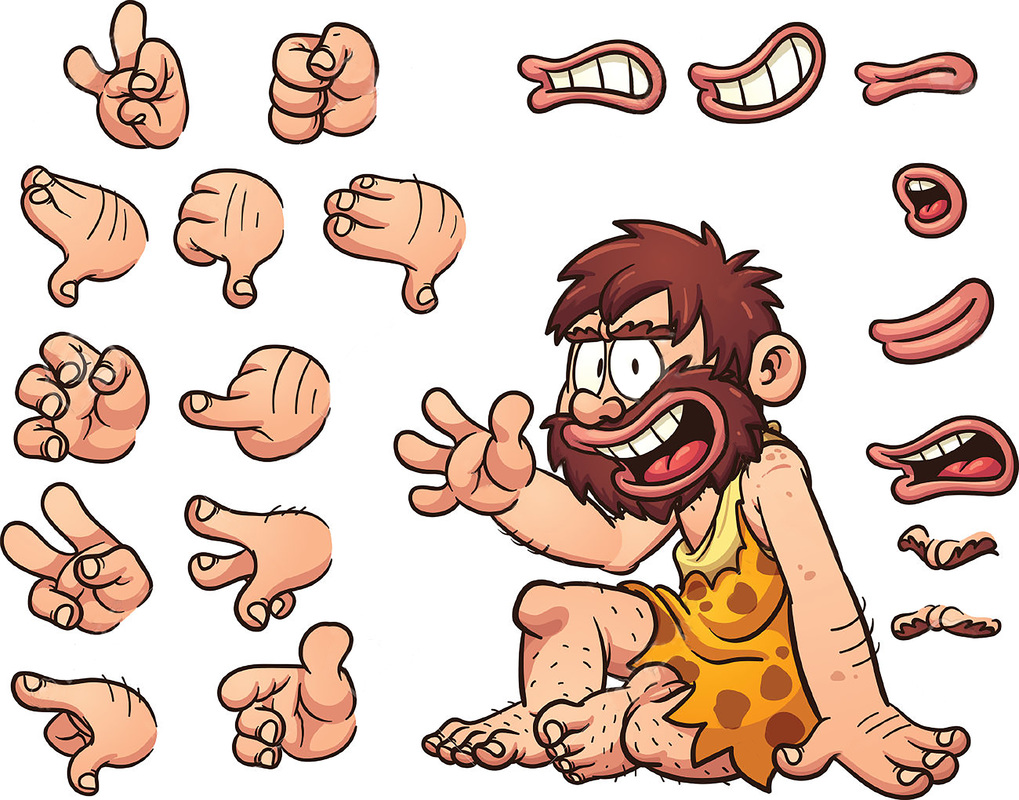
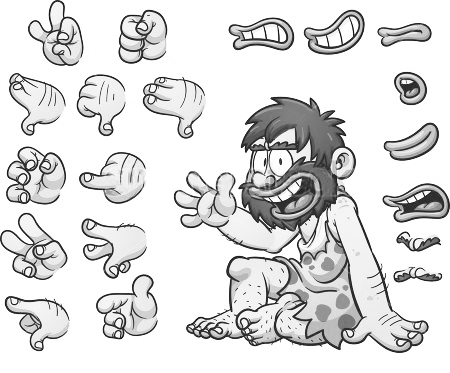
Detailed hands and mouths
Also check out this link for more samples: HAND REFERENCES