
2.2 | Easter Card Design
The concept of greeting cards are said to have started with the ancient Egyptians who exchanged wishes in the form of personal notes on simple slips of papyrus. Similar traditions are believed to have been prevalent in Greece and China around the same time. All these were the precursors of the handmade paper greeting cards, which had become a more or less popular means of expressing good wishes by the early 13th century.
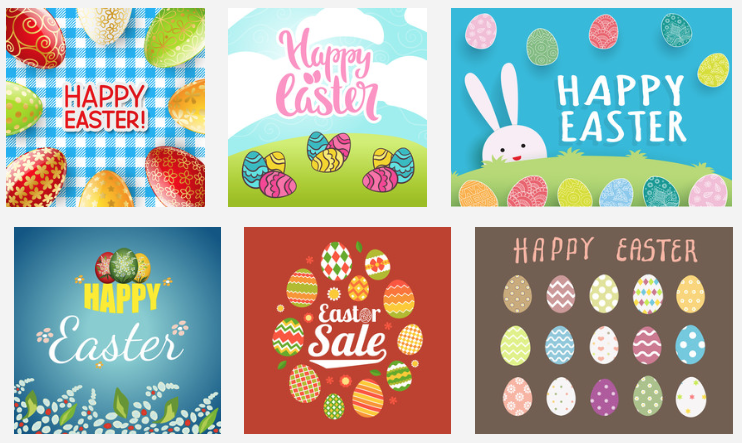
The use of greeting cards really caught on in Europe when the postage stamp was introduced in 1840. It immediately turned the greeting card into a popular mode of sending personal messages and set off its commercial production on a mass scale. Greeting cards began to be created for a number of occassions like New Year's Day, Valentine's Day and Christmas. Easter was mainly seen as a religious occassion and the use of greeting cards was not much popular with the event until the late 1890s. Easter cards were literally born in Europe when a stationer in Victorian England added a greeting to a drawing of a rabbit. It gave birth to the modern Easter greeting card replete with symbols related to the occassion such as chickens, eggs, rabbits, cross and the like.
The turn of the century saw the popularity of the Easter greeting cards. Those were the early days of Easter greetings and many of these were postcards, often featuring famous Easter symbols or even natural scenery and well-known buildings. The Easter greeting cards available in the U.S. at this time were the most interesting; these colorful pieces were lithographed and often embossed, sometimes with thin gold cutouts.
Today, greeting cards have become a popular medium to express wishes on Easter. According to American Greetings, Easter is now the fourth most popular holiday in terms of sending cards, ranking just behind Christmas, Valentine's Day, and Mother's Day. Every year, the Easter season witnesses wide sales of greeting cards and it testifies to the spirit of brotherhood and friendship that exists in mankind despite occassional outbursts of strife and hatred.
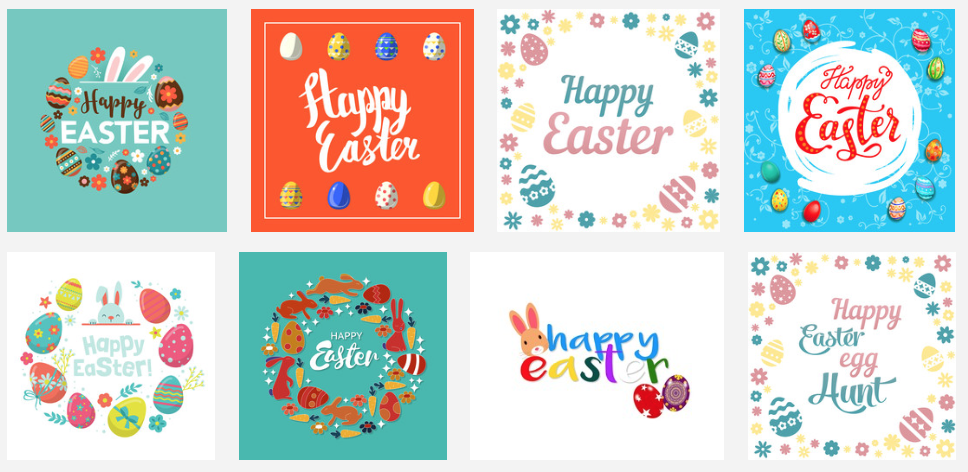
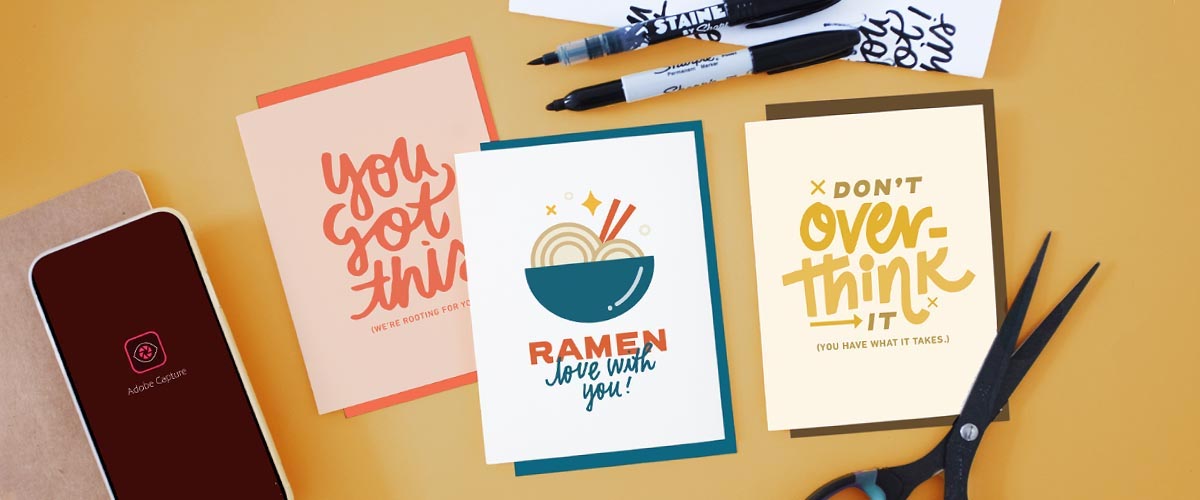
Using one of the tutorials below, or if you prefer to do your own creation, you will create an Easter Card for you family, friends, or anyone else you would like to send.
You will create two separate cards (108mm x 143 mm) using a full 8.5 x 11 sheet of card stock. The elements and content of your card will be your original work (no clipart).
http://www.psd-dude.com/tutorials/create-an-easter-vintage-card-in-photoshop.aspx
http://www.psd-dude.com/tutorials/design-an-easter-poster-in-photoshop.aspx
http://www.psd-dude.com/tutorials/draw-an-easter-egg-in-photoshop.aspx
https://www.webdesign.org/how-to-create-vintage-styled-easter-card.22254.html
or if you find another tutorial to follow you are welcome to discover them. Changes or modifications to the tutorials are encouraged considering they must fit within the size we can print to. See the template or details for specific sizes.
The use of greeting cards really caught on in Europe when the postage stamp was introduced in 1840. It immediately turned the greeting card into a popular mode of sending personal messages and set off its commercial production on a mass scale. Greeting cards began to be created for a number of occassions like New Year's Day, Valentine's Day and Christmas. Easter was mainly seen as a religious occassion and the use of greeting cards was not much popular with the event until the late 1890s. Easter cards were literally born in Europe when a stationer in Victorian England added a greeting to a drawing of a rabbit. It gave birth to the modern Easter greeting card replete with symbols related to the occassion such as chickens, eggs, rabbits, cross and the like.
The turn of the century saw the popularity of the Easter greeting cards. Those were the early days of Easter greetings and many of these were postcards, often featuring famous Easter symbols or even natural scenery and well-known buildings. The Easter greeting cards available in the U.S. at this time were the most interesting; these colorful pieces were lithographed and often embossed, sometimes with thin gold cutouts.
Today, greeting cards have become a popular medium to express wishes on Easter. According to American Greetings, Easter is now the fourth most popular holiday in terms of sending cards, ranking just behind Christmas, Valentine's Day, and Mother's Day. Every year, the Easter season witnesses wide sales of greeting cards and it testifies to the spirit of brotherhood and friendship that exists in mankind despite occassional outbursts of strife and hatred.
Using one of the tutorials below, or if you prefer to do your own creation, you will create an Easter Card for you family, friends, or anyone else you would like to send.
You will create two separate cards (108mm x 143 mm) using a full 8.5 x 11 sheet of card stock. The elements and content of your card will be your original work (no clipart).
http://www.psd-dude.com/tutorials/create-an-easter-vintage-card-in-photoshop.aspx
http://www.psd-dude.com/tutorials/design-an-easter-poster-in-photoshop.aspx
http://www.psd-dude.com/tutorials/draw-an-easter-egg-in-photoshop.aspx
https://www.webdesign.org/how-to-create-vintage-styled-easter-card.22254.html
or if you find another tutorial to follow you are welcome to discover them. Changes or modifications to the tutorials are encouraged considering they must fit within the size we can print to. See the template or details for specific sizes.
|
I have preset an Indesign File with the proper card size (108mm x 143mm). Use this to place your design in after you have completed your tutorial.
To download the above file, hold option key down on your keyboard, then click on the Download File link.
|
| ||
|
|
REQUIREMENTS
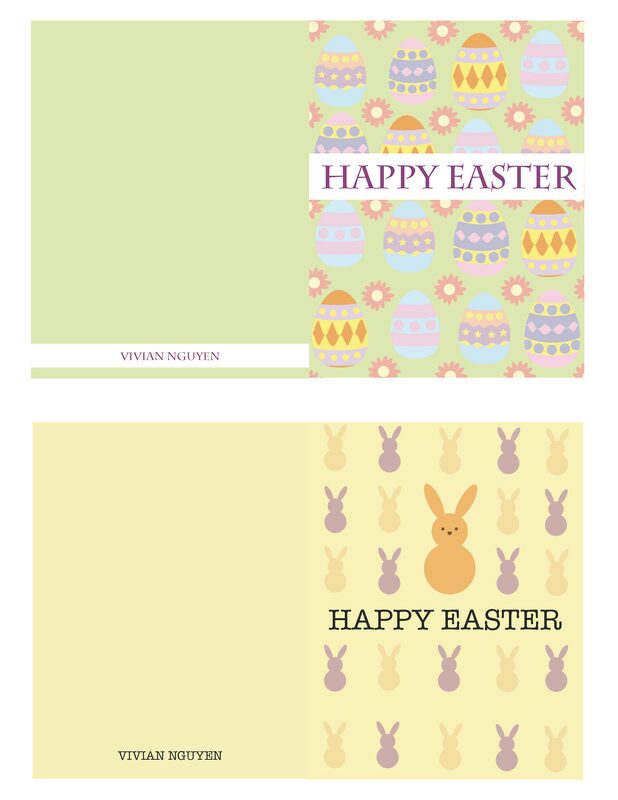
- Create 2 different Easter Card designs using the Indesign template provided.
- Use a variety of colours within your design that is eye catching and creative. Need help with design principles? Click Here.
- You must have created all work in you design using Photoshop or Illustrator.
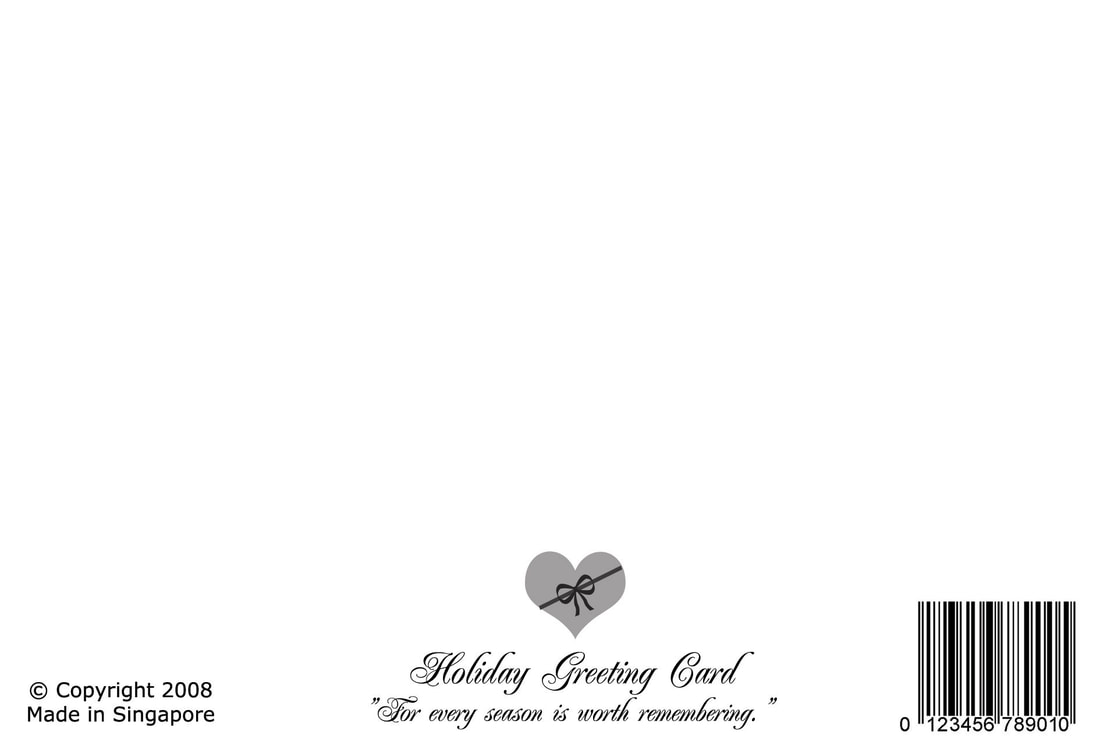
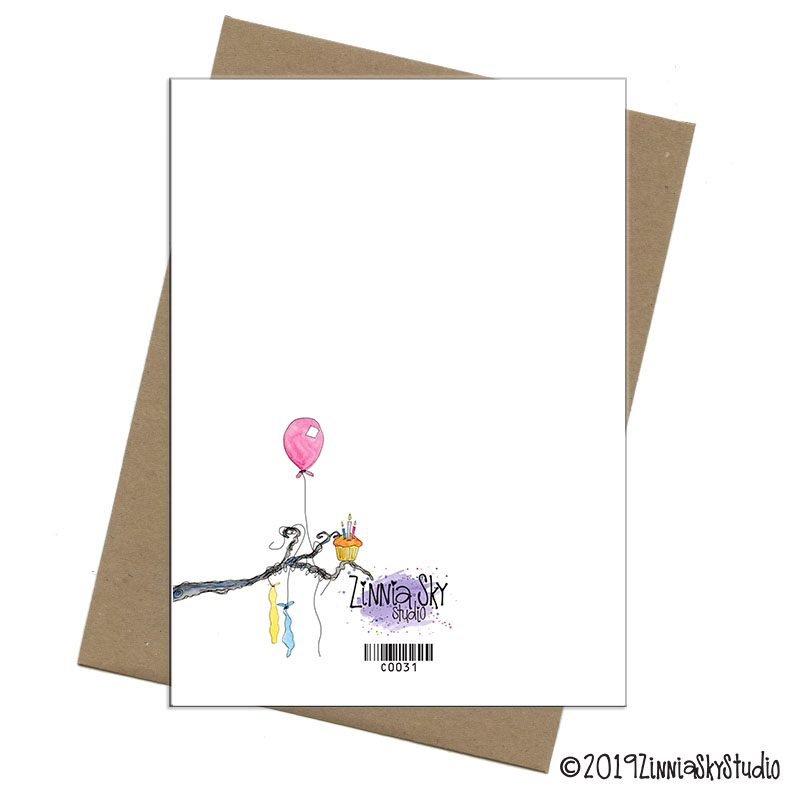
- You cards should have some content on front, inside left, inside right, and back (these design elements can cross over to each other). See exemplar.
- The inside right should have a message that is special to the person you have designed the card for.
- Your name should appear on the back of the card. You can create a logo for yourself or add a small graphical element related to your design. Review sample easter cards for inspiration. GET CREATIVE.
- The inside right should have a message that is special to the person you have designed the card for.
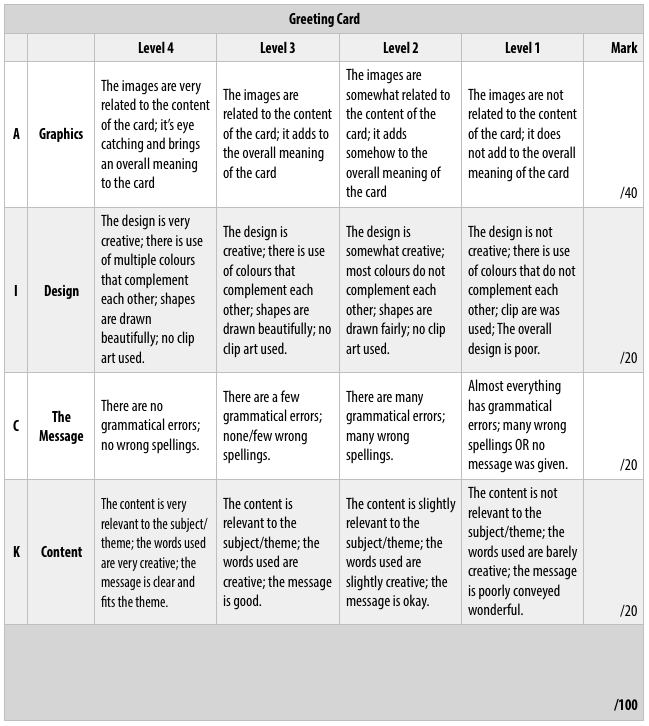
- See rubric below for marking criteria.
When you have completed you Easter Card you will package your file, similar to the magazine cover.
- Export a JPEG version for your ePortfolio first.
- Then you will package all the elements of your work. Go under File -> Package and save your package folder as: . . YOURLASTNAME_FIRSTNAME_2.2.EasterCard (be sure to change YOURLASNAME_FIRSTNAME to your actual last name/firstname)
- Connect to the TGJ2O1 class shared folder and place your folder in the Dropbox.
RUBRIC

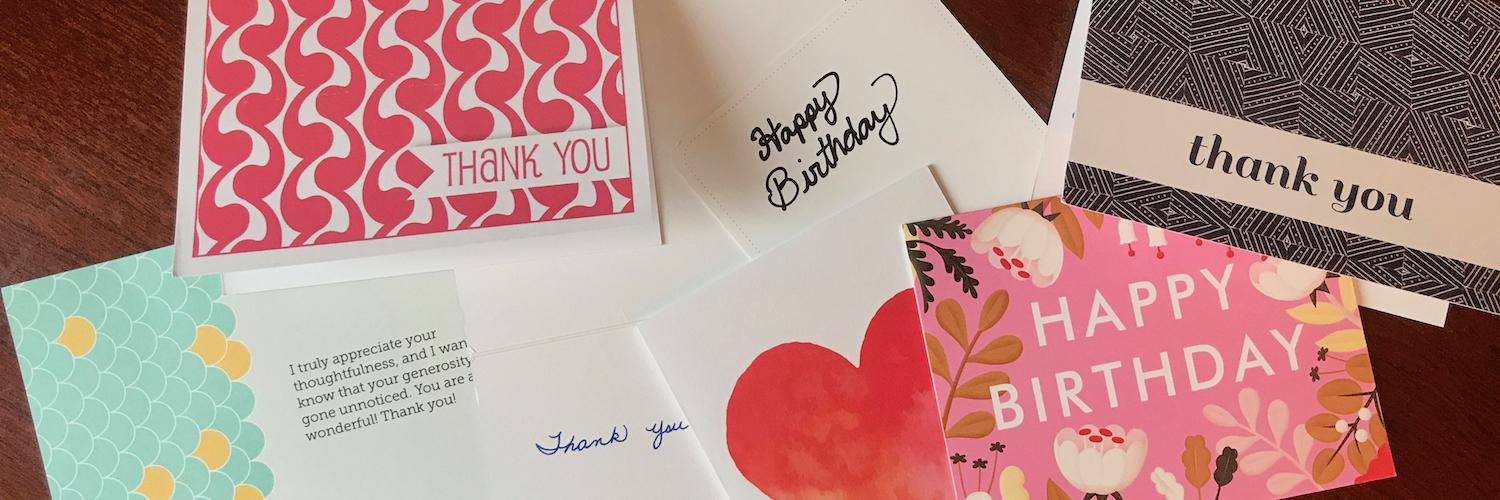
exemplars
|
|
ENVELOPE CREATION
To create your custom designed envelop you will need to place your design into a new Indesign document.
- Open Indesign
- Click on New…
- When the New Document window opens select the Print tab at the top of the window.
- Select the Letter size blank document preset.
- Change Units to Millimeters.
- The Orientation is Portrait.
- Uncheck the Facing Pages checkbox.
- All other setting can remain set to what they are.
- Click Create.
- Your new document is not set for you to create your envelope. Since we are creating 2 envelopes we will set up the envelop outline guides in the Master Pages. Master Pages is used to have repeating elements appear on each page so you don’t need to recreate them.
- Click open Pages in the right column to open the Pages panel. If you don’t see this, go under the Windows tab at the top of the screen and select the Pages panel.
- Then Click on white page icon to the right of A-Master.
- Anything you make on this page will be included in all new pages.
- Using the dimensions on the image below create your envelope using the various tools in the tools panel. The rectangle tool is mid way down the tools; this will be the one we use the most.
